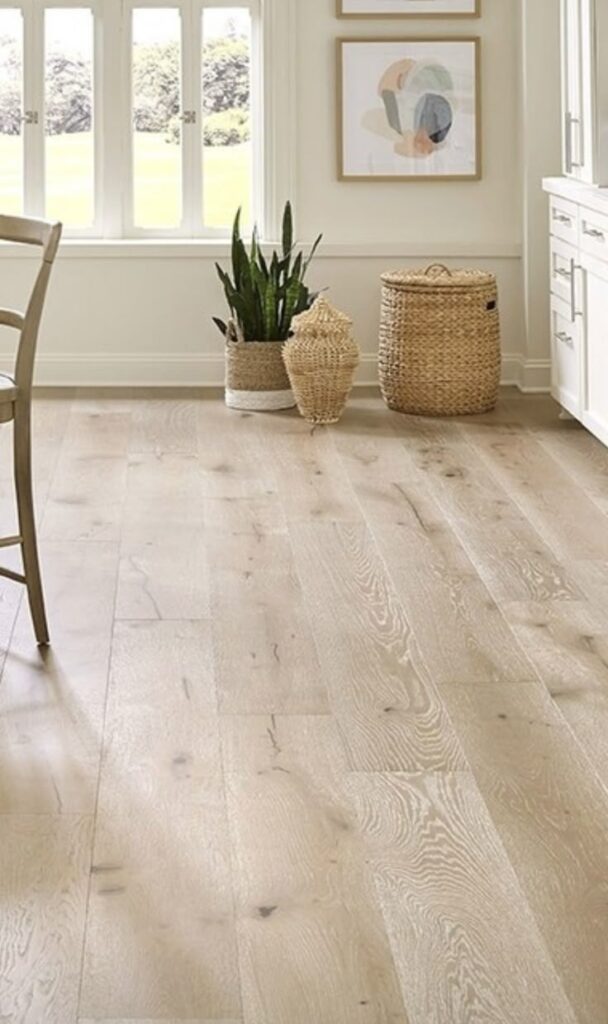
Thinking about upgrading your floors? Here’s what first-time homeowners and renters need to know before starting the flooring installation process — from prep work to hidden costs.
The Truth About Installing New Floors

Installing new flooring sounds simple: choose a style, schedule the installation, and enjoy your upgraded space. But the reality is more complex. The flooring installation process comes with hidden challenges, unexpected delays, and often overlooked costs. Whether you’re tackling it DIY or hiring pros, preparing properly can save time, stress, and money.
From subfloor issues to material delivery fees, this guide breaks down the things most people don’t tell you about installing new floors. Use it to avoid common mistakes, plan like a pro, and make your new floors last.
Hidden Challenges You Might Face
1. Subfloor Surprises
The layer under your visible floor is the subfloor — and it needs to be perfectly clean, flat, and dry before new flooring can go down. If it’s warped, cracked, or has water damage, repairs are non-negotiable. Fixing it may require leveling, replacing plywood, or even moisture barriers, adding both time and cost to the project.
Removing existing flooring can also reveal issues like mold, asbestos (in older homes), or rot. These require professional help, which means even more costs. Always factor in subfloor prep in your floor installation tips checklist.
2. Clearing the Room
Most flooring installers require the room to be completely empty. That means moving every piece of furniture, appliance, and even wall decor. It sounds simple until you’re hauling a full-size couch or disassembling a bed frame. Some professionals offer this service — but expect to pay $25–75 per room.
If you’re doing it yourself, plan for extra time and enlist help. Don’t forget to protect fragile or dust-sensitive items.
Home upgrades like new roof replacement—or even a floor—always involve more prep and budget planning than expected, especially for first-time homeowners.
3. Dust and Installation Delays
No matter how careful the installers are, dust is inevitable. Cutting boards, sanding, and prepping the subfloor all stir up particles that settle on every surface. After your flooring is installed, you’ll likely need to deep-clean the room.
Also, materials like hardwood often need time to acclimate to your home’s humidity before installation. Expect 3–7 days for this, plus installation and drying time. What you thought would be a weekend job might stretch into weeks.


Flooring Installation Costs That Sneak Up
1. Labor Fees
Labor costs vary, but most professional installations range from $2–8 per sq. ft. Specialty work (like herringbone tile or in-floor heating) costs more. Also factor in charges for:
- Furniture moving
- Old floor removal and disposal
- Subfloor repair
These can add hundreds or even thousands to your final bill.
2. Materials Beyond the Floorboards
New flooring requires more than just planks or tiles:
- Underlayment (moisture barrier, soundproofing)
- Adhesives, nails, or staples
- Transition strips between rooms
- New baseboards or quarter round
These accessories aren’t always included in material estimates. Confirm what’s covered before committing.
3. Overage and Waste
Most installers recommend buying 10% extra material to cover cuts, miscalculations, or future repairs. If your room is 500 sq. ft., plan for 550 sq. ft. of product. This prevents delays and re-orders mid-installation.
4. Delivery & Special Orders
Ordering high-end or bulky materials? Delivery fees and fuel surcharges are common. Special orders may take longer to ship. Be wary of lowball estimates that skip delivery, prep, or finishing costs.
Altogether, flooring a 500 sq. ft. room could range from $2,000 to $7,500, depending on material and region.
Floor Installation Tips: How to Plan Like a Pro
1. Measure Carefully
Measure the length and width of each space, including closets or corners. Use a floor calculator to estimate total square footage, then add 10% for overage. This ensures you order the right amount from the start.
2. Clear the Space in Advance
Move all furniture, wall hangings, and fragile decor out of the room. Store them safely in a dust-free space. The cleaner and emptier the area, the faster your flooring project will go.
3. Choose the Right Flooring Type
For beginners, consider:
- Laminate: Budget-friendly, easy to install
- LVP (Luxury Vinyl Plank): Durable and water-resistant
- Engineered wood: A real-wood look with easier maintenance
If you prefer natural materials like solid hardwood or tile, plan for more time and a higher budget. Ask your installer what works best for each room’s use, moisture, and foot traffic.
4. Ask Smart Questions
When getting quotes, always ask:
- Does this price include underlayment?
- Will you move furniture?
- How do you handle old floor removal?
- Are there additional fees for stairs, trims, or moldings?
- How long should we wait before placing furniture back?
The more detailed your questions, the fewer surprises later.
5. Use Digital Tools & Checklists
Many home renovation apps offer flooring calculators and budget planners. You can also download a free PDF checklist for “New Floor Prep” to stay organized. These tools help break the process into steps: measuring, budgeting, scheduling, and cleaning up.
Final Thoughts: What You Should Take Away
Installing new floors is exciting, but it’s also more complex than most expect. From leveling your subfloor to managing dust and delivery delays, flooring for beginners involves more than just picking pretty planks. But with a solid plan, the right materials, and clear communication with your installer, you’ll avoid common floor installation mistakes.
Don’t rush it. Set realistic timelines, pad your budget for hidden costs, and use digital tools to keep yourself on track. Whether you DIY or hire a pro, the end result — beautiful, durable new floors — will be worth the extra prep.
Want a little help getting started? Download our free Flooring Installation Checklist and get your project rolling the smart way.
✨ Image Sources: Some visuals in this post were sourced from Pinterest for inspiration and educational commentary. All image rights belong to their respective owners.

